What affects the “image size”
Dimensions
Think back to the photo frames you used to have on your desk before computers. You could get your photos developed in various sizes, all from the same negative. Photo dimensions are the “viewing size” of an image. For example, a 4×6 inch photo in a frame is 288 pixels wide on a computer.
Pixels Per Inch (ppi)
Essentially exactly as it sounds, PPI is a measure of how many pixels (digital image dots) are in one inch of space. It would be like filling a 5 pound bag with sand and one with cotton balls. From the outside they look the same, but one weighs a lot more then the other!
Image Quality
PPI affects the image quality, but to take it one step further consider “image compression”. A JPEG, for example, is a compressed image. That is why it’s a popular choice for websites! Compressing an image is like painting with half the colors. From a distance it still looks the same, but digitally with a few less colors its going to be a lot less data to write (and therefore a smaller file size).
File Size
The is how big the image file itself is. A print ready file at several megabytes can be dropped to 80-120kb without much loss of quality on the computer screen. The general suggestion is to optimize images at 120kb or less. However, if your image isn’t a “portfolio” image, or your site is on the slow side, it can be helpful make your image size even smaller.
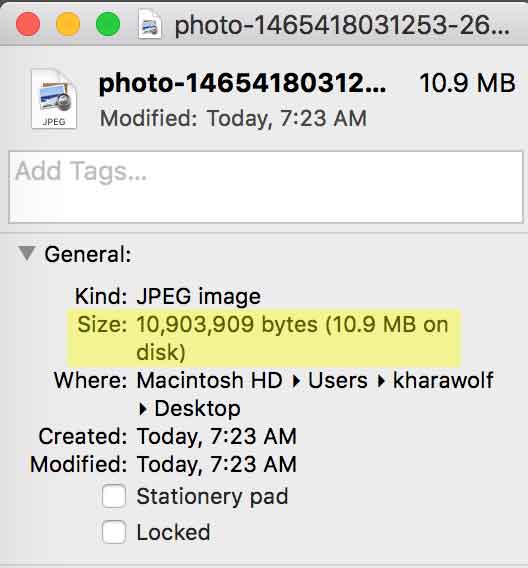
To check your file size, highlight the file. Use Command+i. A pop-up box will display your “file size”.
Why upload web-optimized images?
Site speed! The faster your site loads the better it will rank in search engines. Visitors will also be more likely to stick around on quick loading websites. Image size is of course only one factor in page-load time, but it will certainly help.
What if I need a high resolution image?
There may be times you want a high resolution image for a portfolio site. However, you’ll probably find your web-ready images still have plenty quality for viewing on a computer screen.
Does it matter how I name my images?
Yes it does! Search engines will read the my-file-name.jpg when collecting information about your site. Choose key words and use dashes instead of underscores. Dashes are read as “my file name”, where underscores are read as “myfilename”.
How To Reduce Your Images
There are free websites that give you free photo editing tools you can use to reduce your images. The downside is they often won’t offer as much flexibility for image compression quality.
I’ll be using Adobe Photoshop for this tutorial, however you can use tinypng.com to reduce file size (not dimensions) or Adobe’s Free Online Photo Editor.
Save For Web -> When you are ready to save your Photoshop image for the web you can use the shortcut Shift+Option+Command+S or go to File -> Save for web.
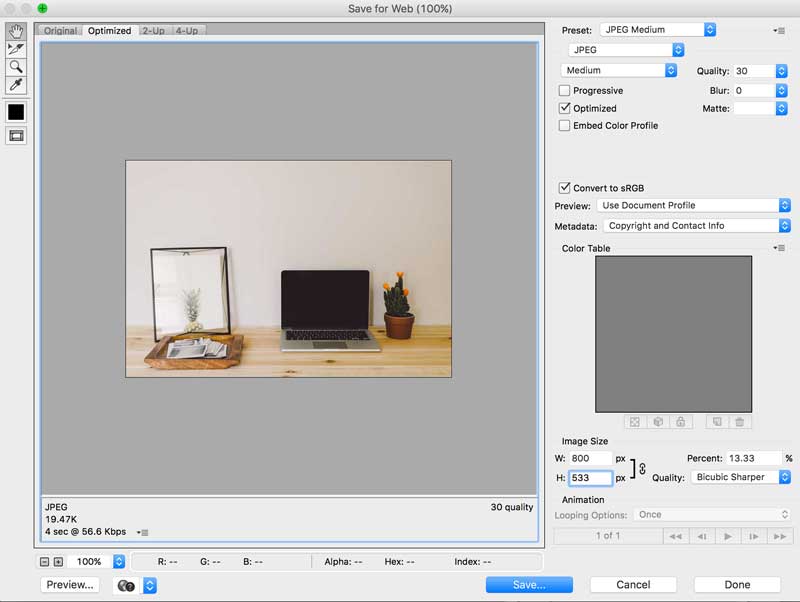
Hover or click on the + for more information.
Image Options Box: On the right side you’ll have image options. Here you can choose image type and quality.
+File Type: Choose JPEG. This is the most commonly recognized compressed file. You only want PNG if you need transparency in your image. GIF is another compressed file, but is mostly used if you have created a moving Gif image.
+Compression/Quality: In general you want to stick to about 50%-60% quality. Start with High (at about 60% quality). It is still considered “high quality” and can be used for portfolio pictures. If your images are quite large (dimensions), consider Medium to keep size down. Always check the final image to make sure the quality looks acceptable.
- Low – 10%
- Medium – 30%
- High – 60%
- Very High – 80%
- Maximum – 100%
+Image Size: You may already have set your image size while editing your photo. If not, you can change the final dimensions here.
+File Size: Check how large your file is going to be before you save it!


[…] you can resize image dimensions in the WP image editor, but that won’t change the file size. Read more about optimizing images for your website. Protip: Make a cheat sheet with all the correct dimensions for your website (and social media) in […]
[…] [Related: A free tutorial on what “image size” really means and how to save your images f…] […]